
Step-by-Step Guide to Hosting Your Own Virtual Classroom
The complete process should take anywhere from 30 minutes to 2 hours depending on your technical skills. All steps have been provided so even beginners and those with no previous exposure to these tools and techniques can be successful. Once you have the accounts and other preparations complete, it takes about 5 minutes to add another server to your collection.
If you prefer to have me host the server for you on my account and my domain, I will gladly do so at no charge. Please contact me through this website.
Thank you, good luck and best wishes for health and success during these interesting times. May God see us safely through the Coronavirus pandemic!
Why?
Differentiators
- Stigma – Zoom for “presentation”, however a Virtual Classroom can be targeted at “collaboration”
- Ease of Connecting – You create a link and send it to students through your current communication channels
- When a student clicks the link on their computer and it automatically opens in browser and joins the classroom session
- When a student clicks the link on their mobile device
- First time it installs the mobile app (if they haven’t already done so) and then automatically joins the classroom session
- All other times it just automatically joins the classroom session
- Unlimited Screen Share – you and all your students can screen share at one time so you can see them working
Benefits
- Watch Them Work – Students can point camera at their work (e.g. switch to back camera on a phone, aim webcam at paper on desk)
- Student “Wall” – Using tile view, you can see side-by-side thumbnails of all students
- Click one to zoom in, click again to go back to all
- Whiteboard – Point a cell phone, tablet or webcam at your physical whiteboard and teach how you are used to! Or screen share PowerPoint (or Google Slides), a online whiteboard tool or any software you want!
- Focus – Students can lock in your video feed to fill their screen so they stay focused
- Confidence – Text chat allows shy students to still ask questions
Why Not?
- Recording – according to the documentation we can add it, but it’s a technical hurdle I haven’t crossed and might be very challenging.
- Accounts – Zoom claims it as a benefit, although I see it as a barrier to entry
- Big Name – Zoom is known (now), we are not (yet). Although at one time they were unknown and were able to build a strong brand. That is the path we need to follow as well!


Step 1: Domain
Own your personal web address

Step 3: Setup
Follow simple instructions

Step 2: Account
Take charge of your future

Step 4: Teach
What You’ve Been Longing For!
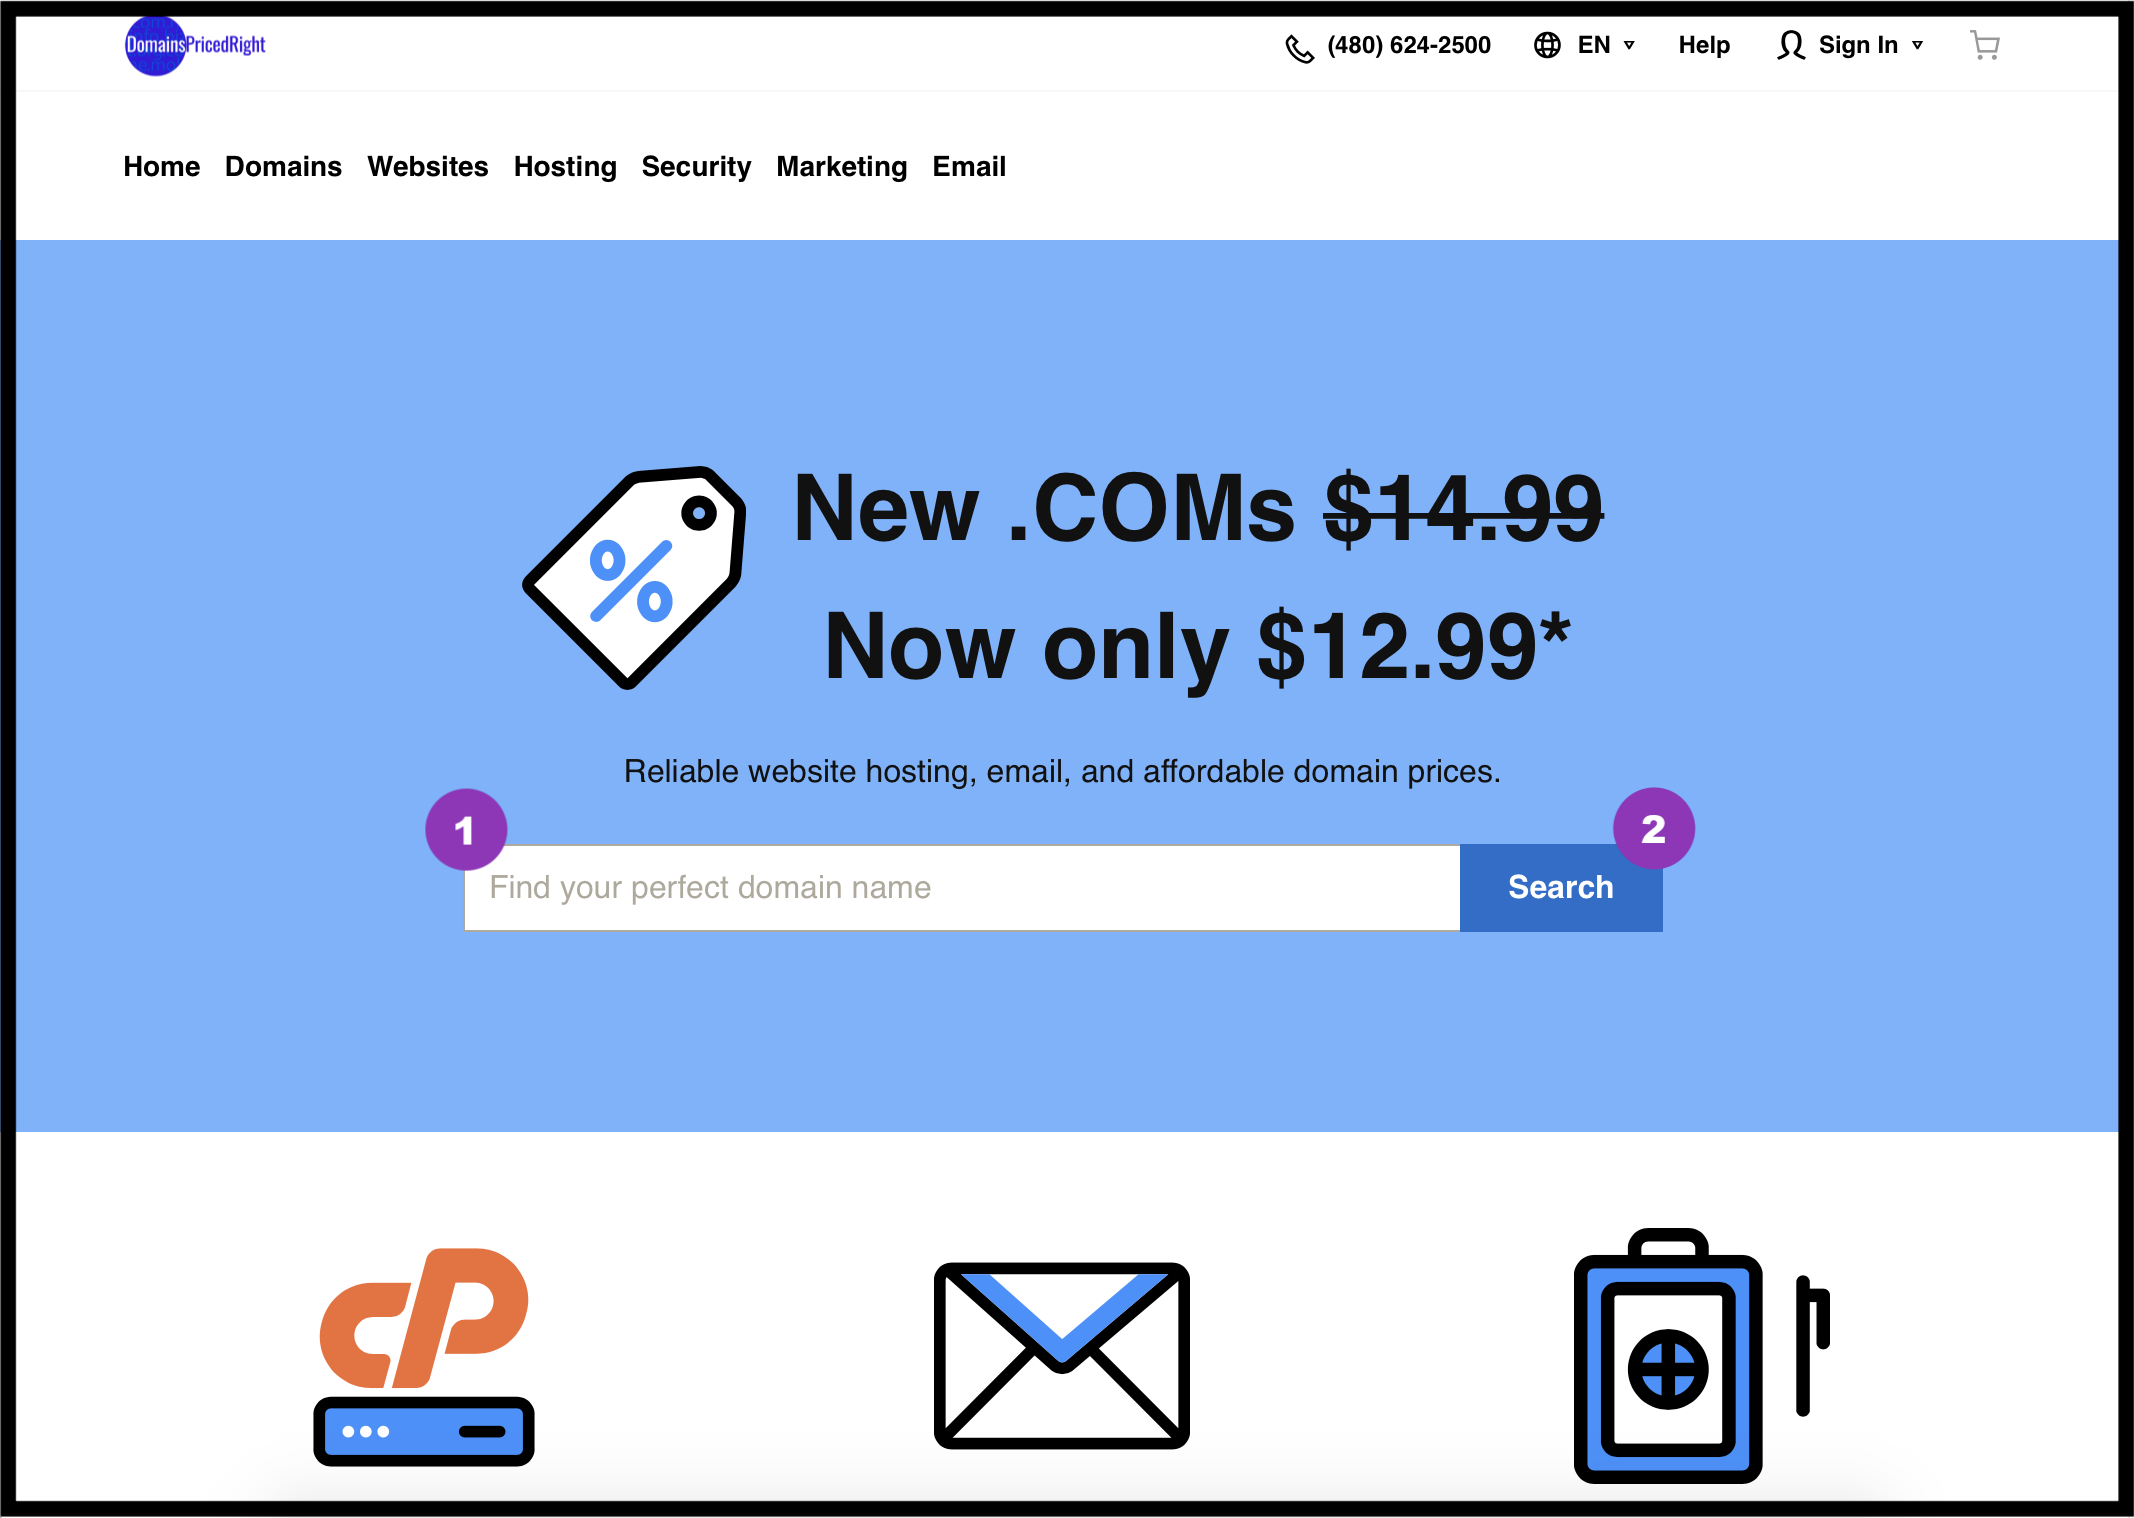
1. Register Domain Name
Your virtual classroom needs an address. On the web, this is called a “domain name”. There are a number of sites and tools to help you. Payments should be on the order of $12.99-$19.99 per year.
Here’s a site we’ve vetted to know it won’t overcharge you.
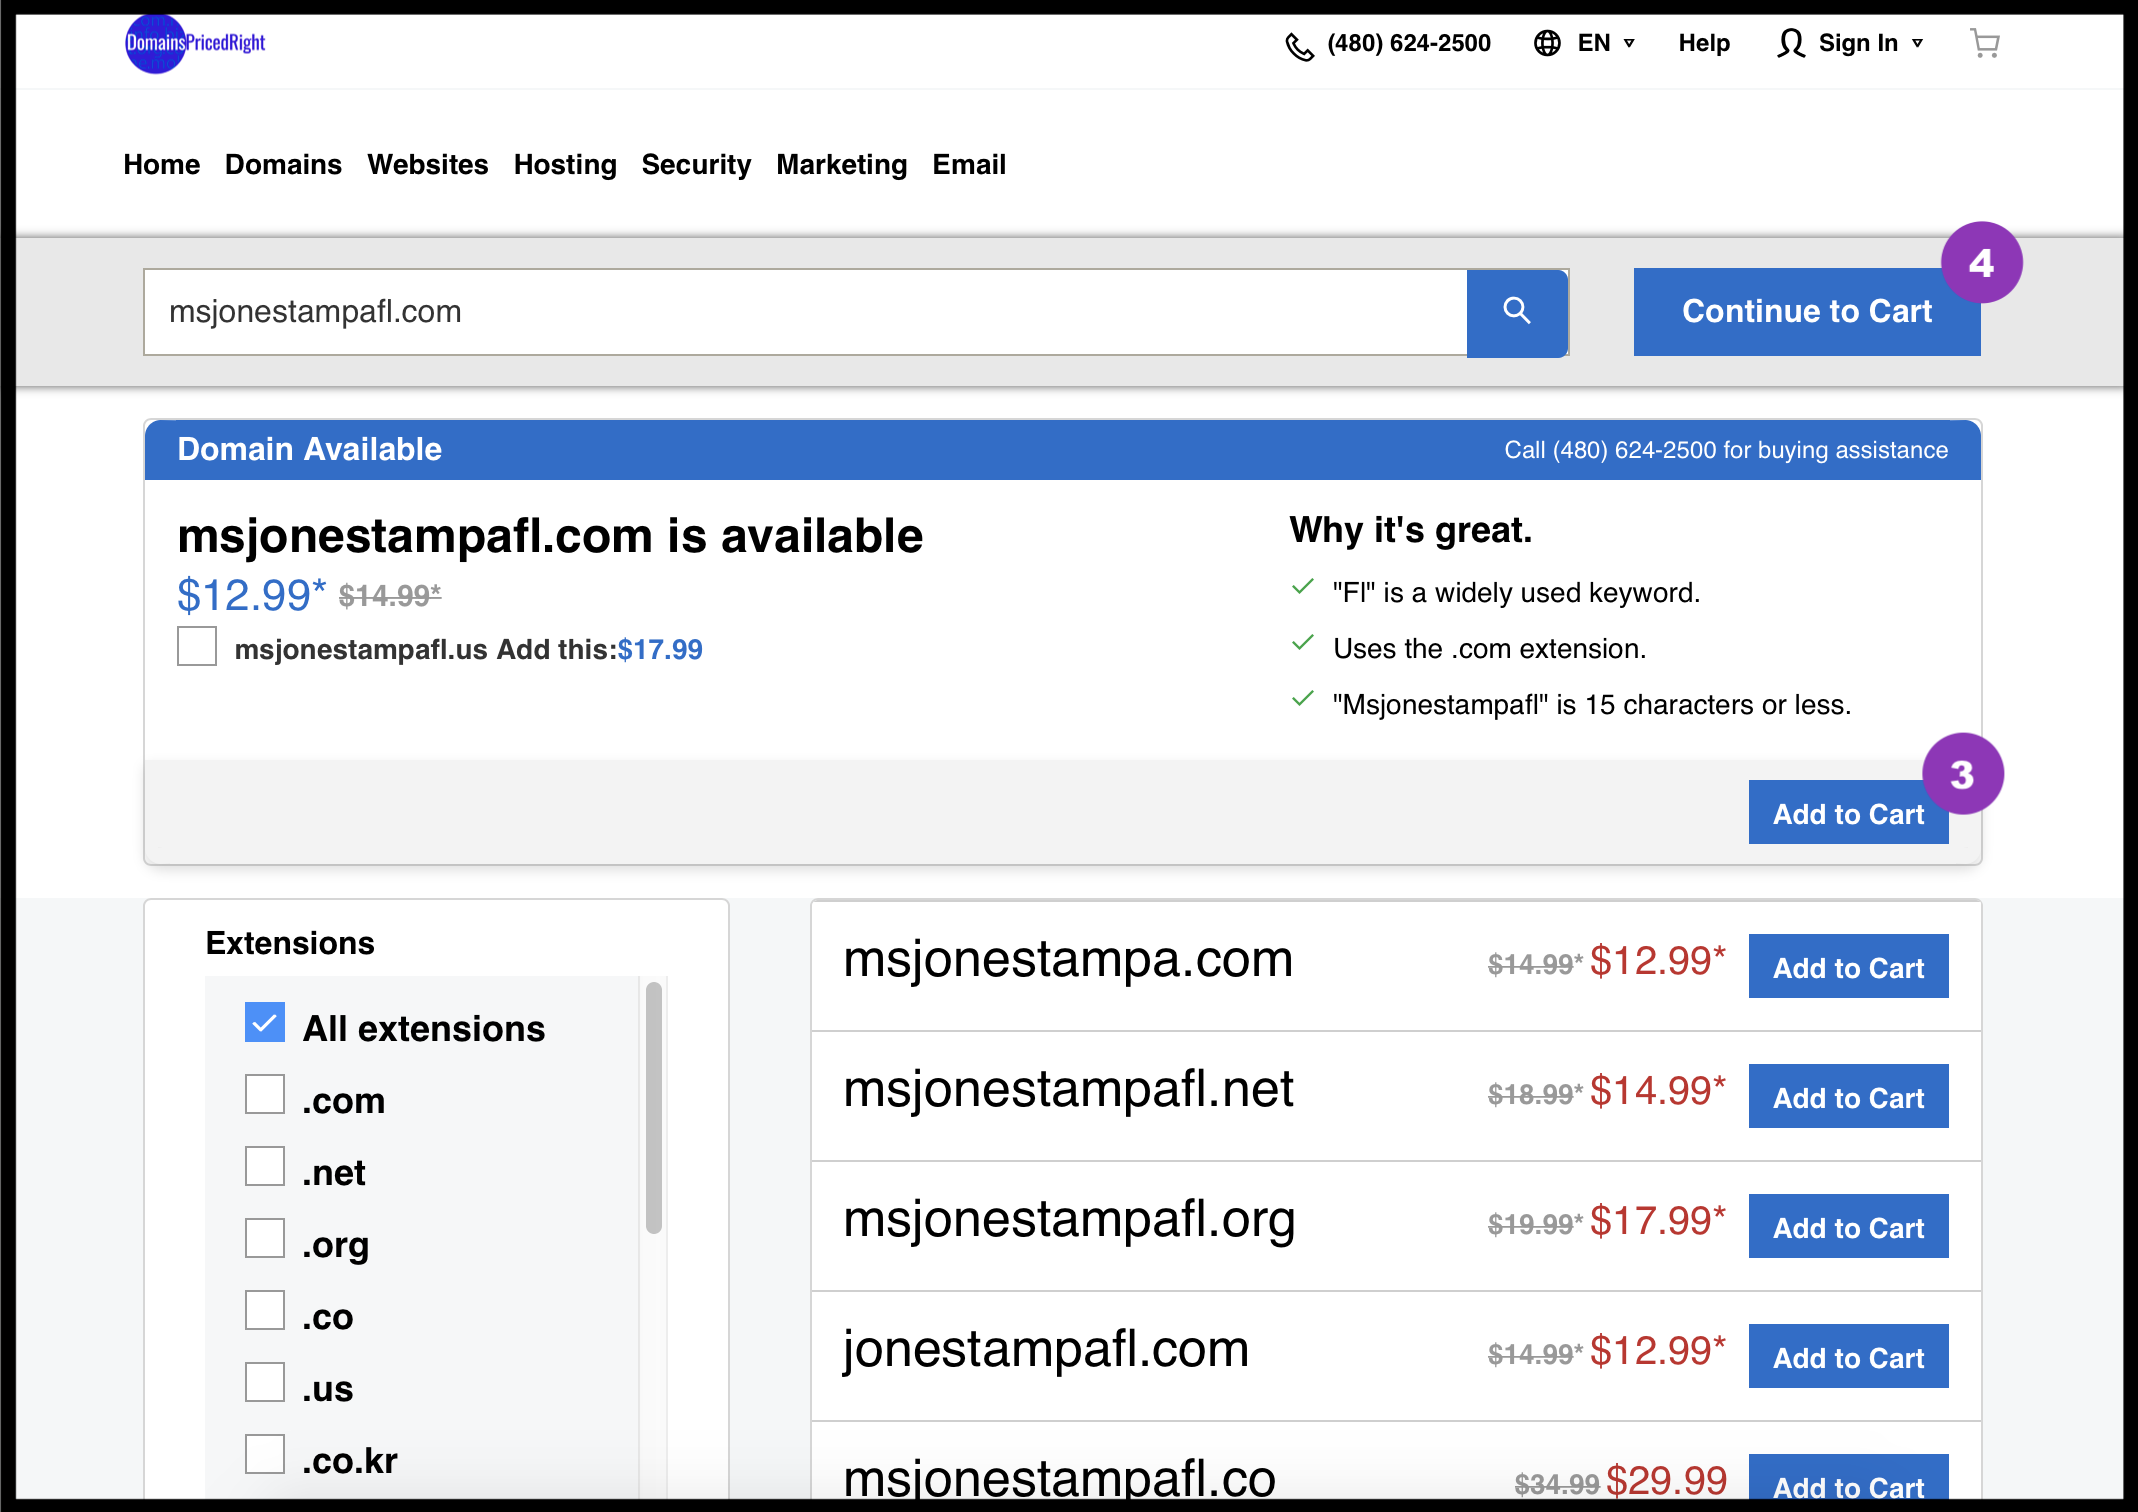
We recommend .com, .us, .info or .net addresses as students are familiar with these. Also use a name that can be remembered, such as your name in the form students would use in the traditional classroom. For uniqueness, you can include your school name or initials, possibly the city, county, state or country you teach in, and/or the subject you most often teach.
For example
- MsJonesMath.us
- MrBillScienceNY.com
- CSRMS-MsDavis.info
While addresses are not case sensitive, using capital letters helps with readability and memory.
IMPORTANT: Check your desired domain name in all lowercase to ensure no undesirable letter combinations occur.
You only need one url address, so there’s no advantage to adding other extensions or variations. If you’d like to get together and create one site with multiple classrooms for different teachers, then choose a more generic name here and you’ll be able to add a prefix later (step 3e) to have classrooms like mrjones.myschoolcom, mrsjohnson.myschool.com and msjudy.myschool.com (with your domain in place of myschool.com, of course).
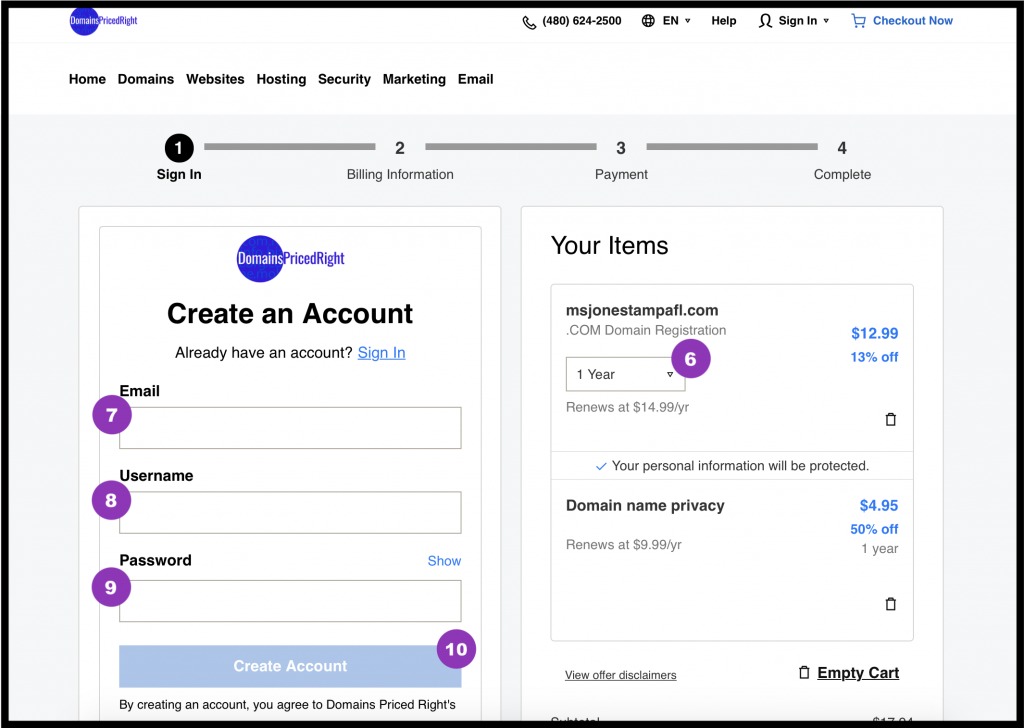
Likewise, you do not need email, websites or even hosting from the domain registrar. In other words, ignore and uncheck any up-sell options you may encounter. The only one of value is Privacy Protection, if you are going to use a personal email address or phone number.
Most domain registrars will default to 2 years. You may choose to change it to one. You can always extend or pre-purchase additional years later once you know you want to keep this domain longer.
You will need to create an account (and save your login information) so you can manage this address and how it’s used and renewed now and in the future.

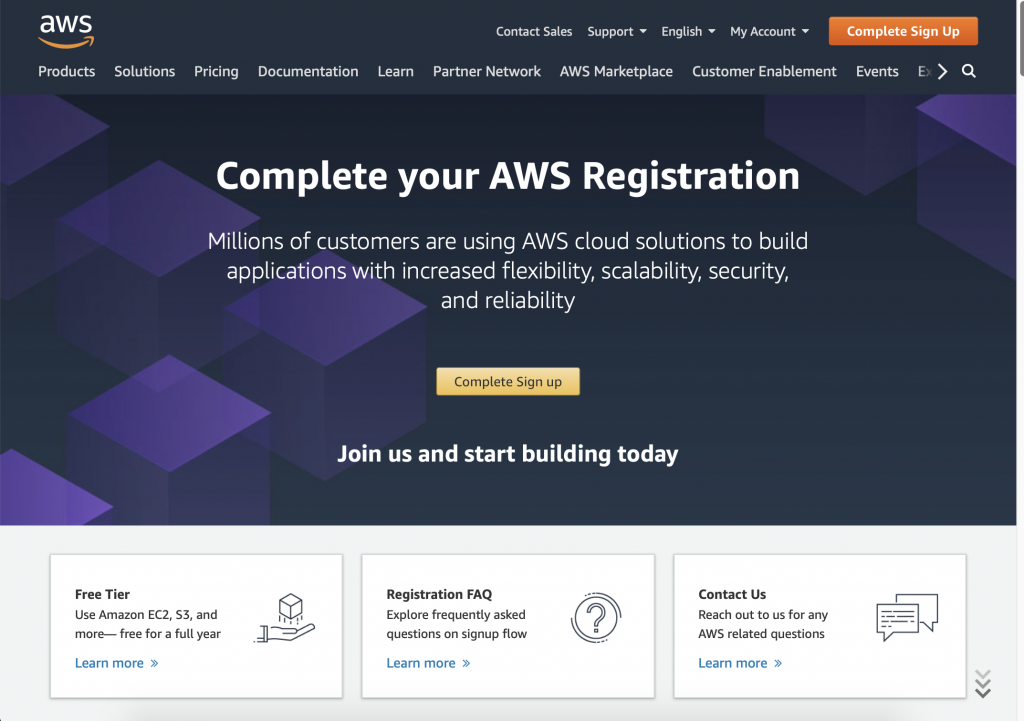
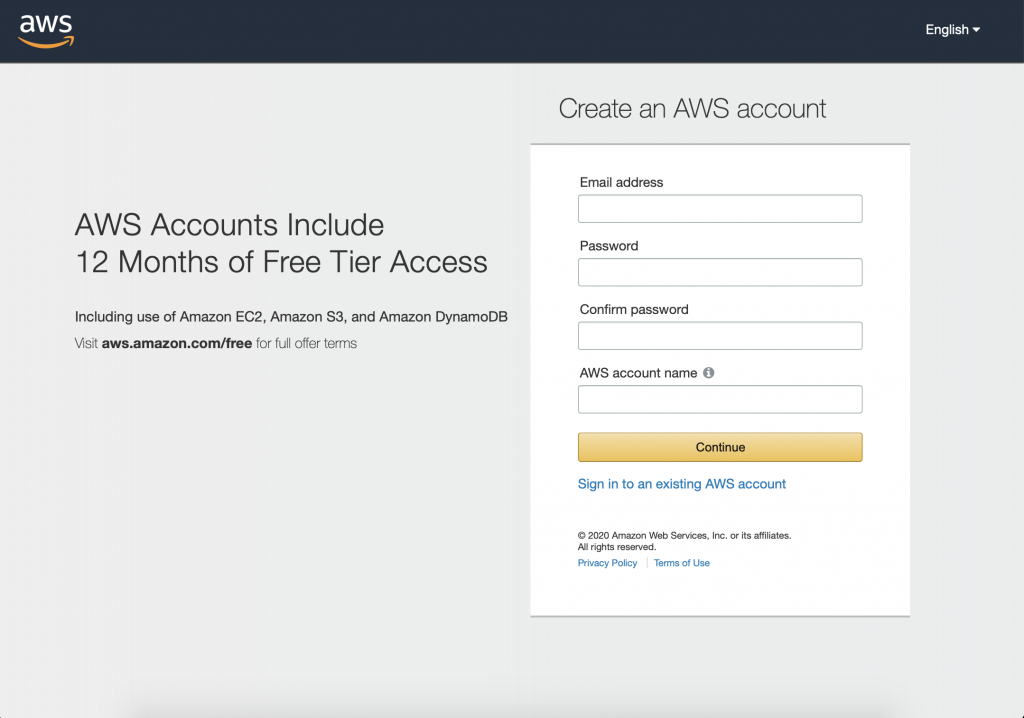
2. Obtain Account with Amazon Web Services
Registration gives you access to Amazon Web Services (AWS) including Elastic Cloud Computing (EC2) where we will setup our video conferencing server and Route 53 for directing traffic to your new domain address.
During the setup process in step 3 we’ll select “Free Tier” options. However, since some services have a nominal fee (e.g. $1 – $3 / month for domain address routing), you’ll need to configure payment options when you create your account.
Follow the on-screen instructions provided by AWS.
Make sure you can remember your “AWS account name” since you will need it to log into manage your virtual classroom server(s) and domain address routing.
3. Setup Hosting Services
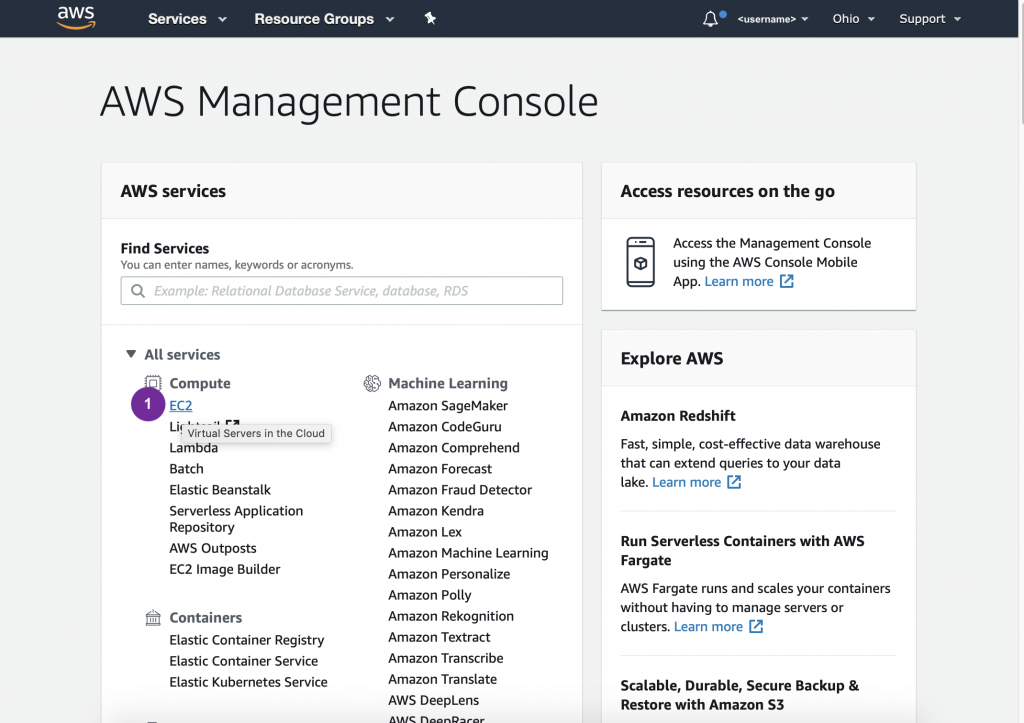
Once your AWS account is set up, you should be logged in and able to see a screen like the following.
Using the menu in the upper right corner, choose a region close to you and your students. If it ever seems like your server has disappeared, check the region before you get too worried.

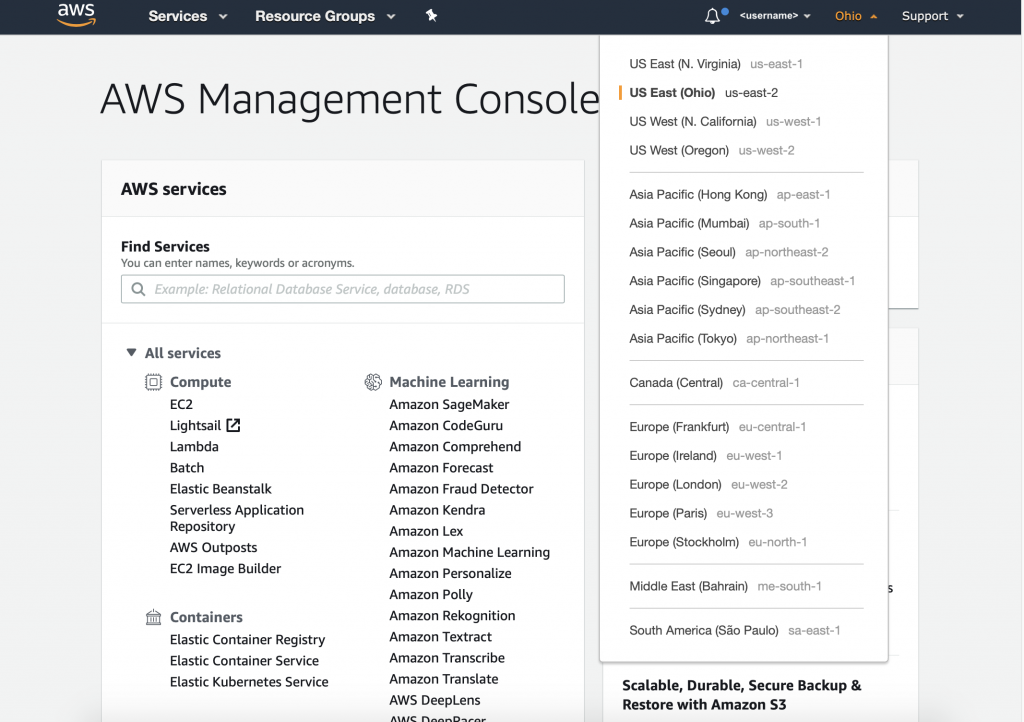
FYI
You can return to the AWS login any time in the future to regain access to the console.
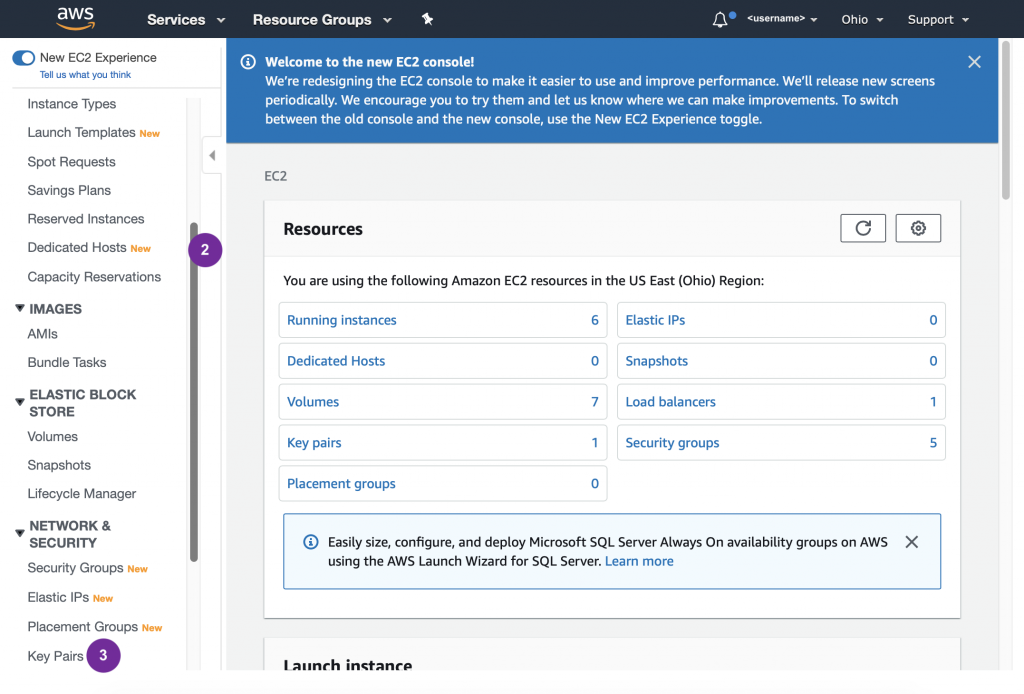
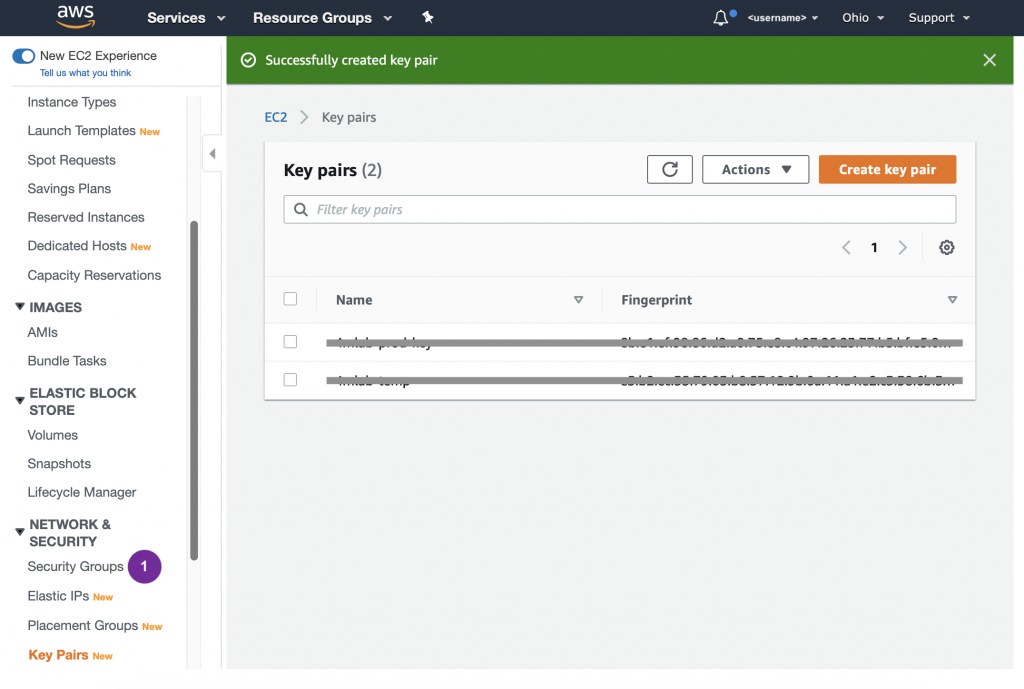
A. SSH Key
Follow directions provided by AWS for creating a key pair.
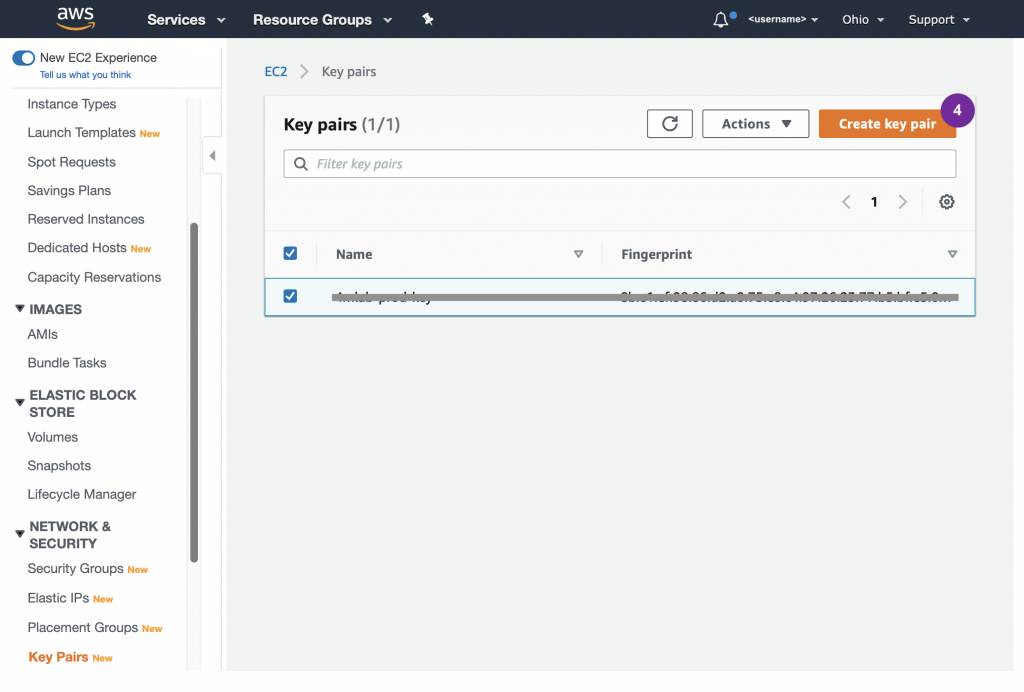
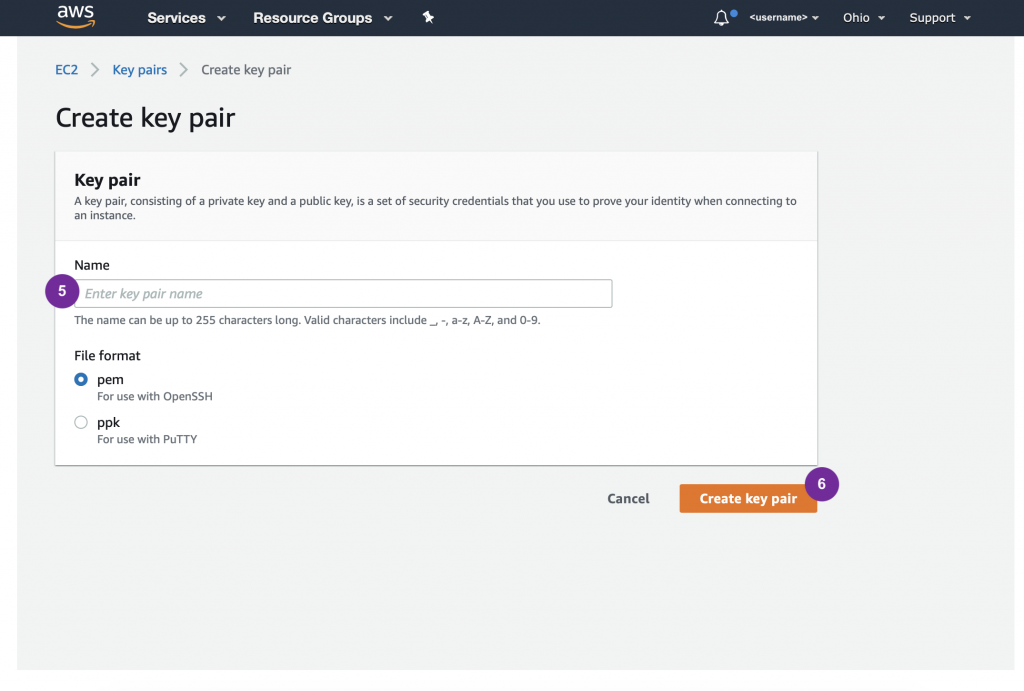
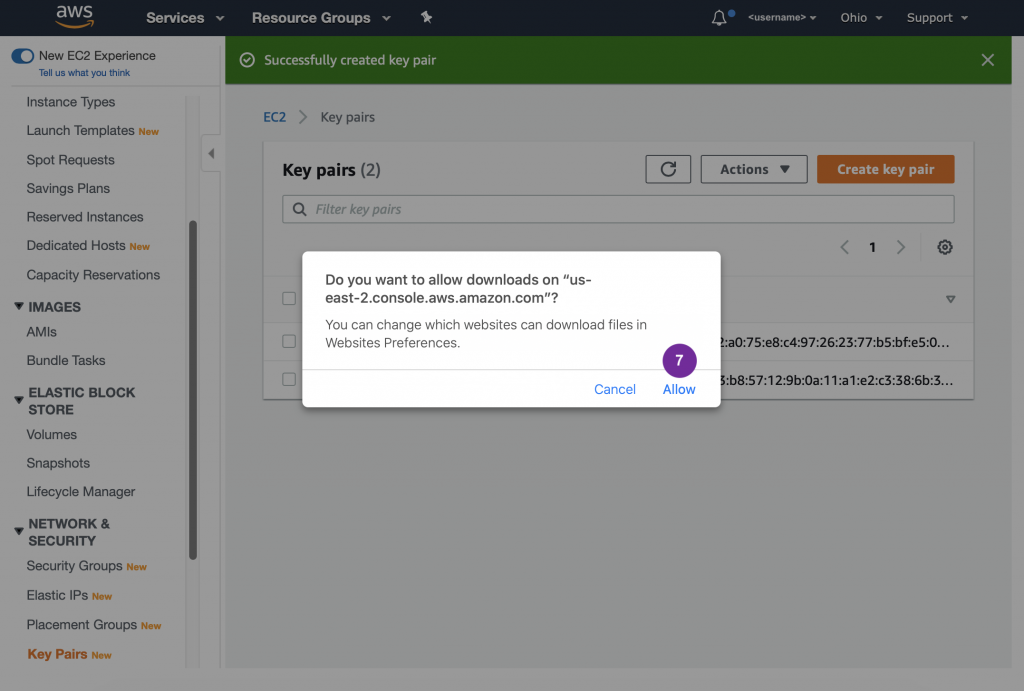
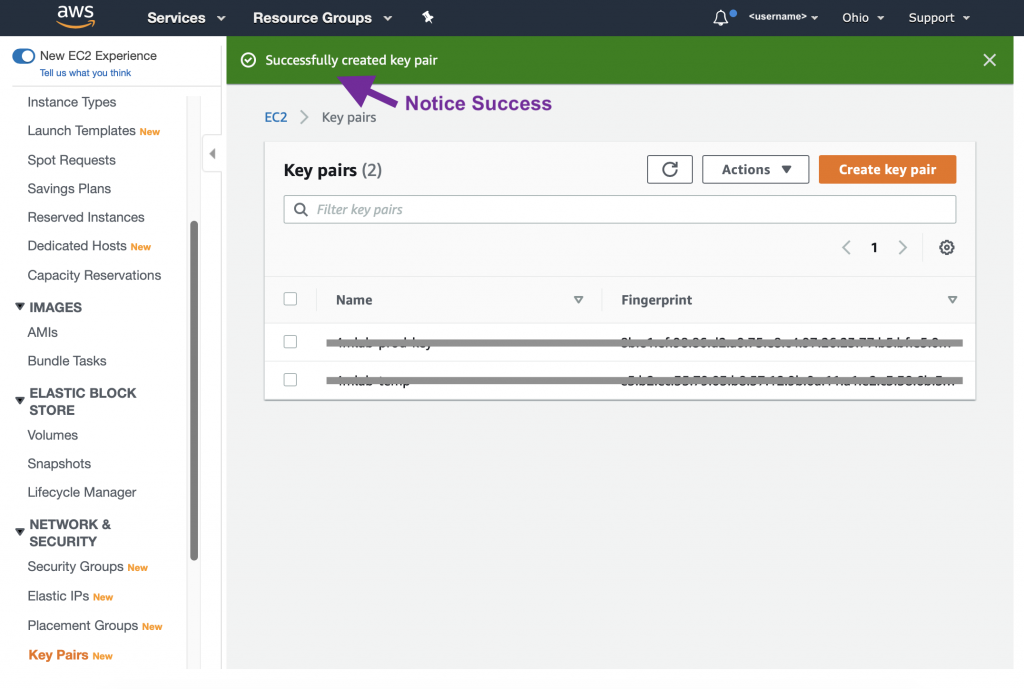
The PEM (or PPK) file will be saved to your computer – most likely in the “Downloads” folder. You may want to move it to another location. Warning, your desktop is not a safe place. There are management tools for these kind of files, or you can use a hidden folder such as .ssh in your user directory (e.g. ~/.ssh).
B. Route 53 – Domain Addressing Setup
Coming Soon: One-time Route 53 configuration
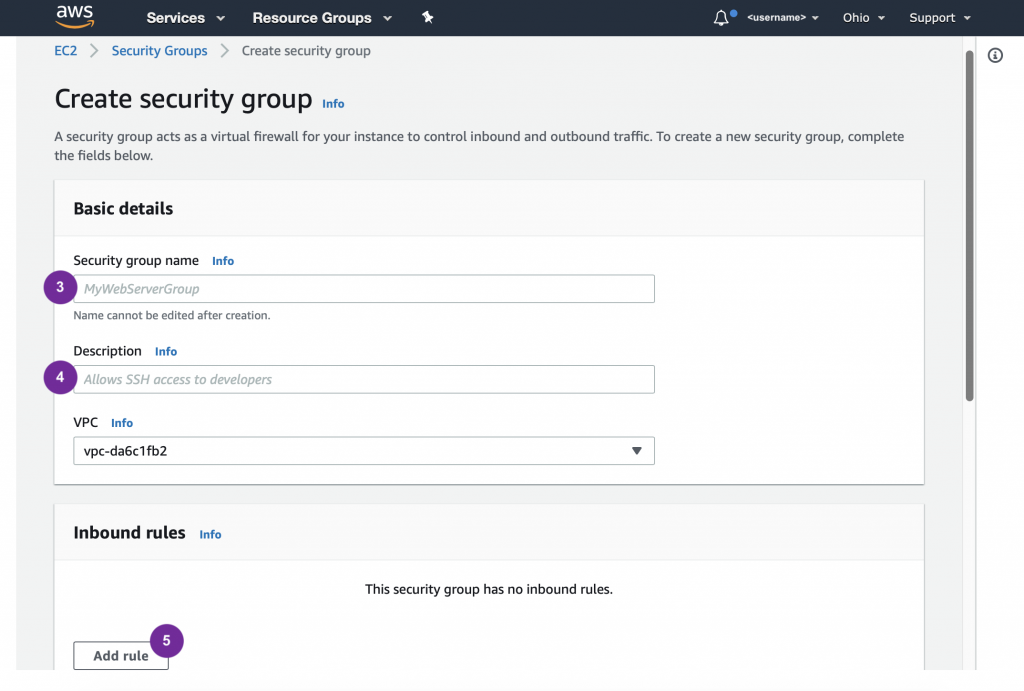
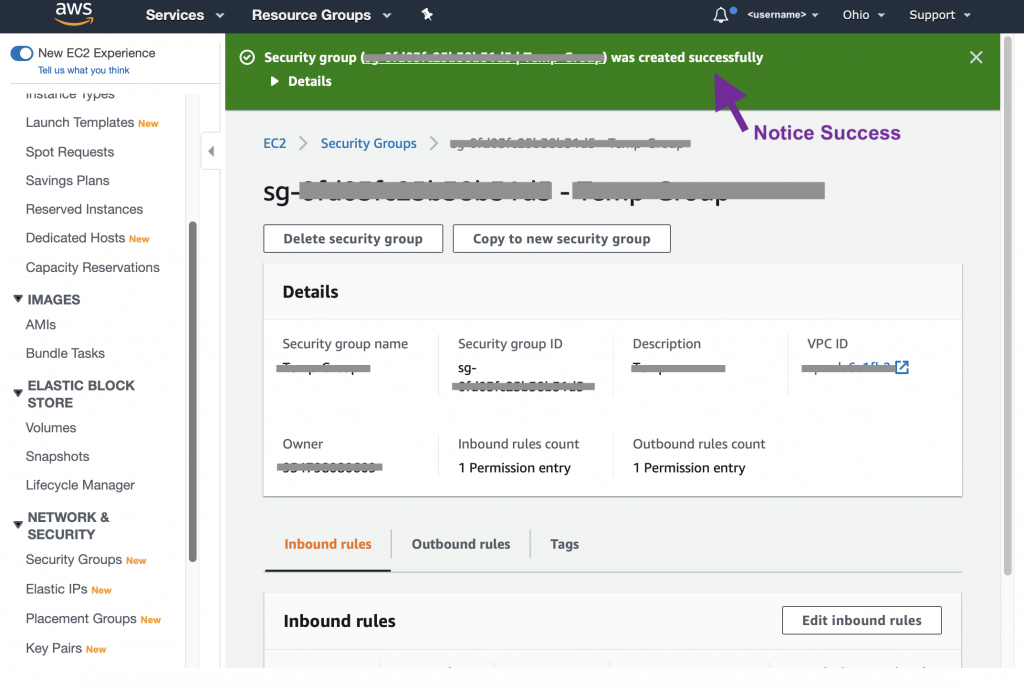
C. EC2 – Security Groups
Next we need to define rules for what communications can and should reach our server(s). Specifically what ports to talk on and what source to accept messages from. In AWS terms, as set of rules is called a “Security Group” and the direction we need to manage is “Inbound” communication.
Best practices dictate that each security group perform a particular task. In my experience, this is invaluable for making updates easily in the future. The specifics on how to create a security group will be covered in a moment. First, let’s make a list of what we’ll need.
- Security Group One
- Name: DevOps (a.k.a. Development Operations)
- Description: Allow authorized locations only to access the server to run commands
- Inbound Rule
- Type: SSH (which will lock in port 22)
- Source Type: My IP
- Description: Home IP Address (or School IP Address, or whatever is applicable)
- Additional Inbound Rules can be added later for other locations
Critical: Do NOT create an SSH rule allowing all addresses (0.0.0.0/0) or even many addresses unless you want to make yourself a prime target for hackers!
- Security Group Two
- Name: Video
- Description: Jitsi Meet, Videobridge, etc.
- Inbound Rule
- Type: HTTP (locks in port 80)
- Source type: Custom
- Source: 0.0.0.0/0
- Description: General Web Interface
- Inbound Rule
- Type: HTTPS (locks in port 443)
- Source type: Custom
- Source: 0.0.0.0/0
- Description: Secure Web Interface
- Inbound Rule
- Type: DNS (UDP) (locks in port 53)
- Source type: Custom
- Source 0.0.0.0/0
- Description: Multi-party Video Support
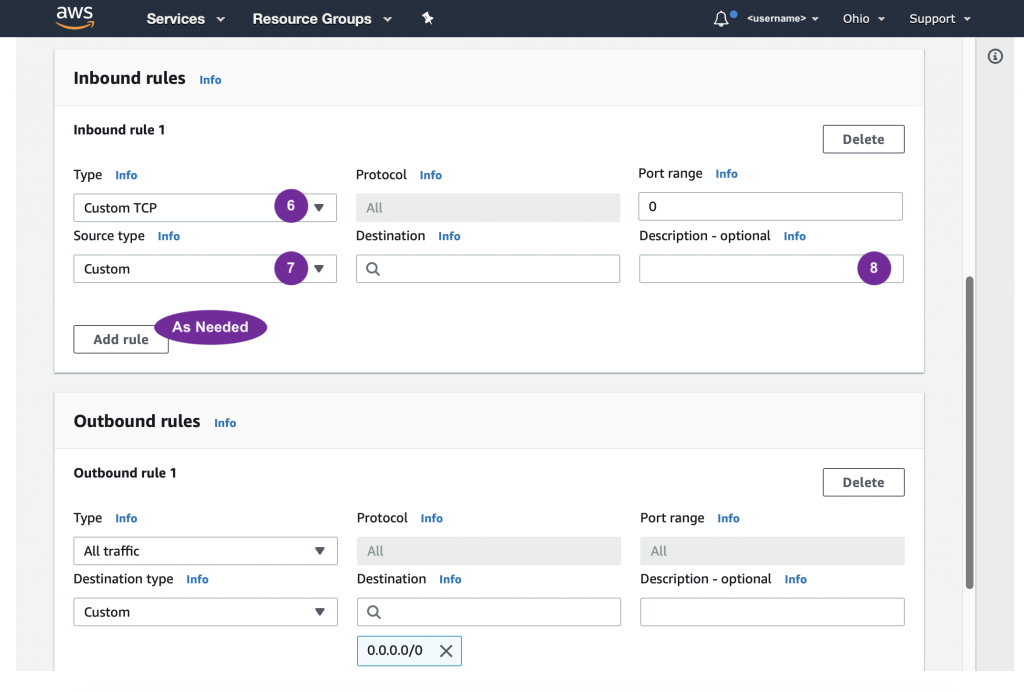
- Inbound Rule
- Type: Custom TCP
- Port: 4443
- Source type: Custom
- Source: 0.0.0.0/0
- Description: Multi-party Video Support
- Inbound Rule
- Type: Custom UDP
- Port: 10000
- Source type: Custom
- Source: 0.0.0.0/0
- Description:
- Inbound Rule
- Type: Custom TCP
- Port: 5280
- Source type: Custom
- Source: Under “Security Groups” select “Video” (this one)
- Description: Local redirect
- Inbound Rule
- Type: Custom UDP
- Port: 5280
- Source type: Custom
- Source: Under “Security Groups” select “Video” (this one)
- Description: Local redirect
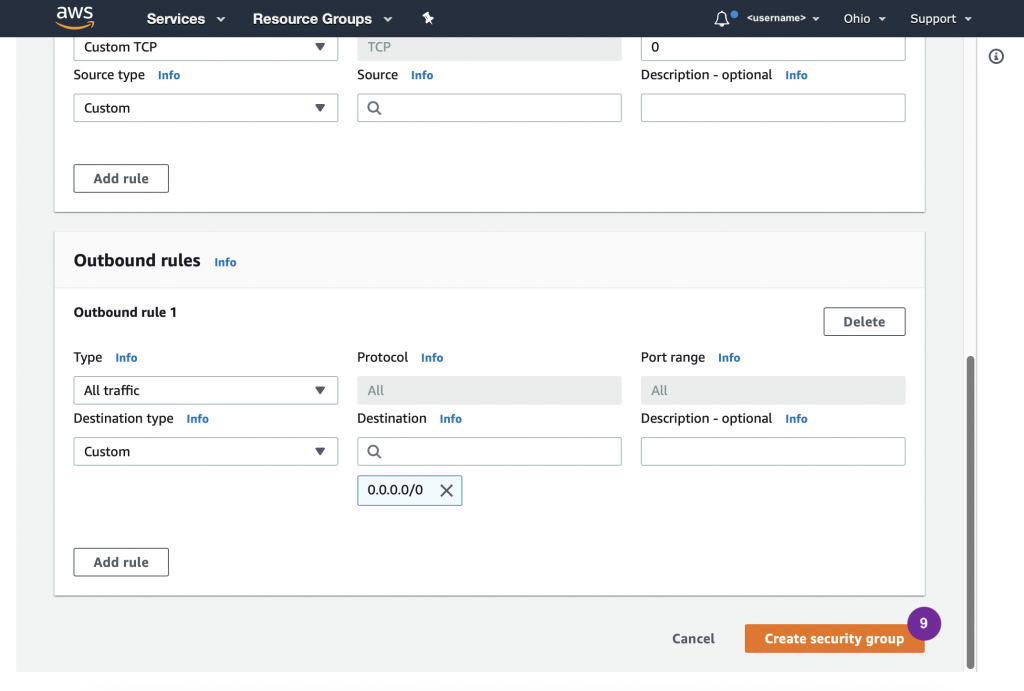
Now we’re ready to follow the steps. When entering Inbound Rule, refer to the above. Notice that one security groups had one Inbound Rule and the other has seven Inbound Rules.

D. EC2 – Instance
- Ubuntu Server 18.04 LTS (HVM), SSD Volume Type
- T2/T3 (free)
- Optional: unlimited t2/t3
- Tag: Name = (something meaningful to you)
- Existing security groups (created in previous step)
- …
E. Route 53
- Copy Public IP
- Open Route 53
- Select domain
- Create …
- Server name
- IP
F. Install Video Conferencing (Jitsi)
- Connect to server via SSH
- Run 4 commands to install Jitsi Meet, Jitsi Videobridge and dependencies
- Run 1 command to setup HTTPS/SSL utilizing Let’s Encrypt
Steps 3 D-F are all you need to repeat to introduce additional servers into your collection.
4. Teach
Go to url and create first meeting. Join from your phone to confirm it’s working on mobile as well. It’s also a good idea to have a friend, colleague or a couple of students join to verify the quality and performance of a multi-participant conference.
Conference Features
- Screen Sharing
- Raise Hand
- Chat
- …
Whiteboards
- Physical
- Virtual
- Alternatives: MS Powerpoint / Google Slides / Apple Keynote